baby, bag, beanie, Bits and Bobs, booties, bunny, change pad, Children, coasters, crochet, Dr Seuss, Linky up party, lollies, quilt, sewing, softie, tutorials, up cycle

Linkup Party Likes #21


What a very wet weekend we just had her in Jimboomba.  I thought the poor dogs where going to float away in their dog house if it didn’t let up.  A few road closures around the area but nothing major.

I have been working on a few Bunny Beanies for Easter.  I thought I might do something different this time and add a bit of fabric to the ears.  What do you think?

       23022012500                23022012502

23022012503

I tried one on Ethan to see how the ears would sit.  Yep he wasn’t very happy with mummy, not even a biscuit would make him happy lol!

23022012499

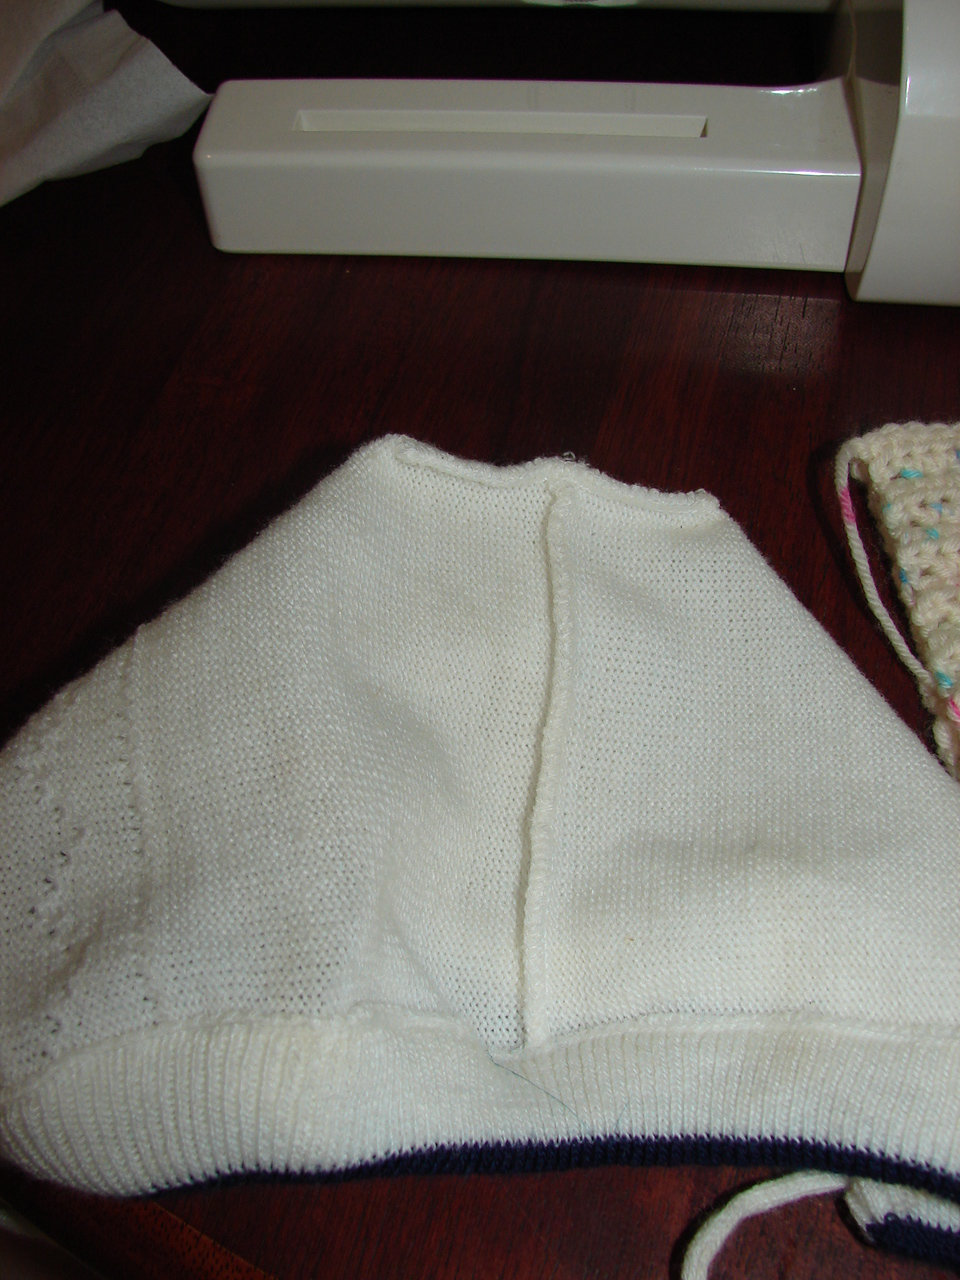
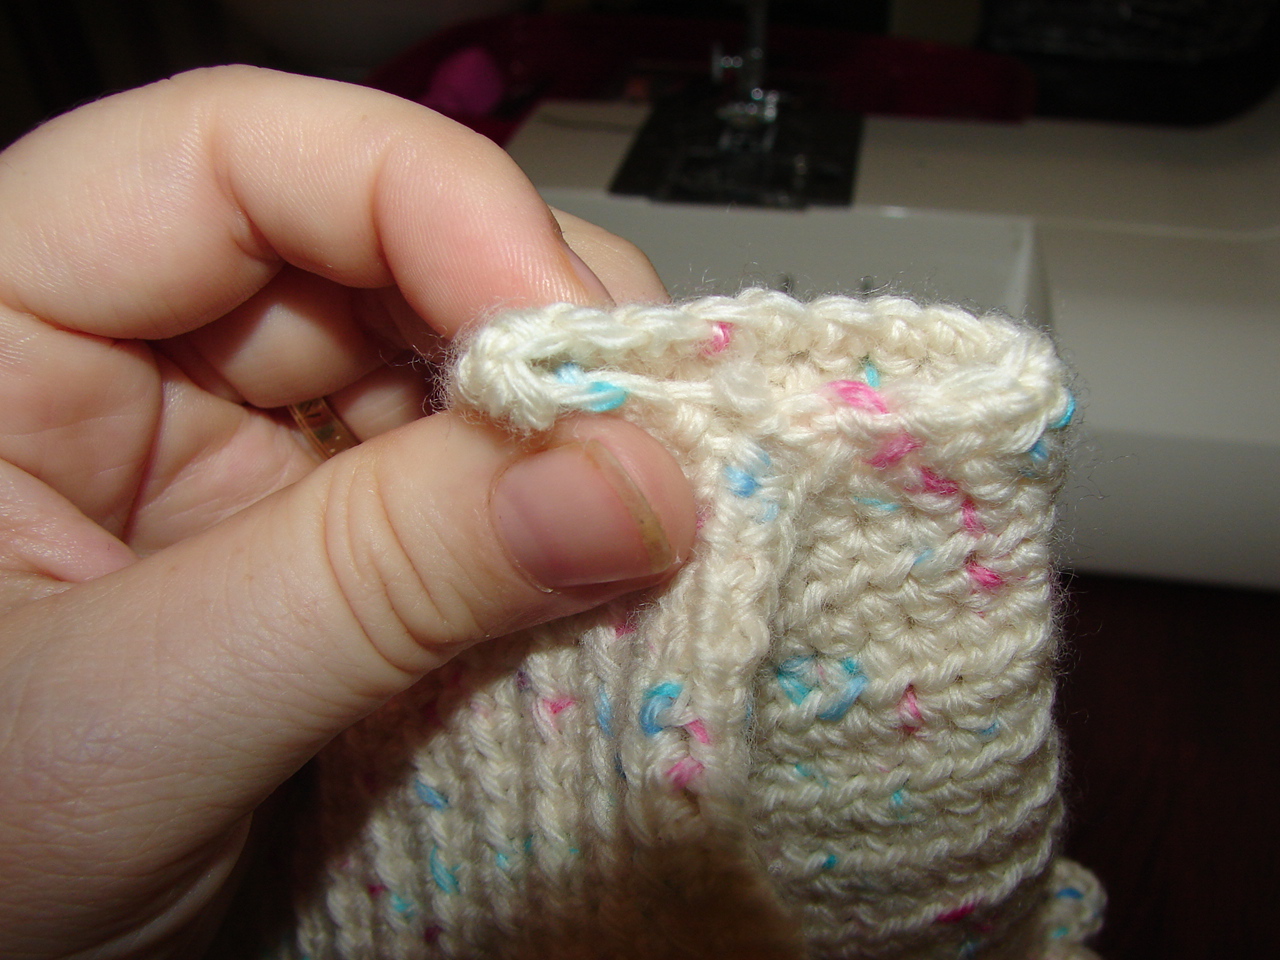
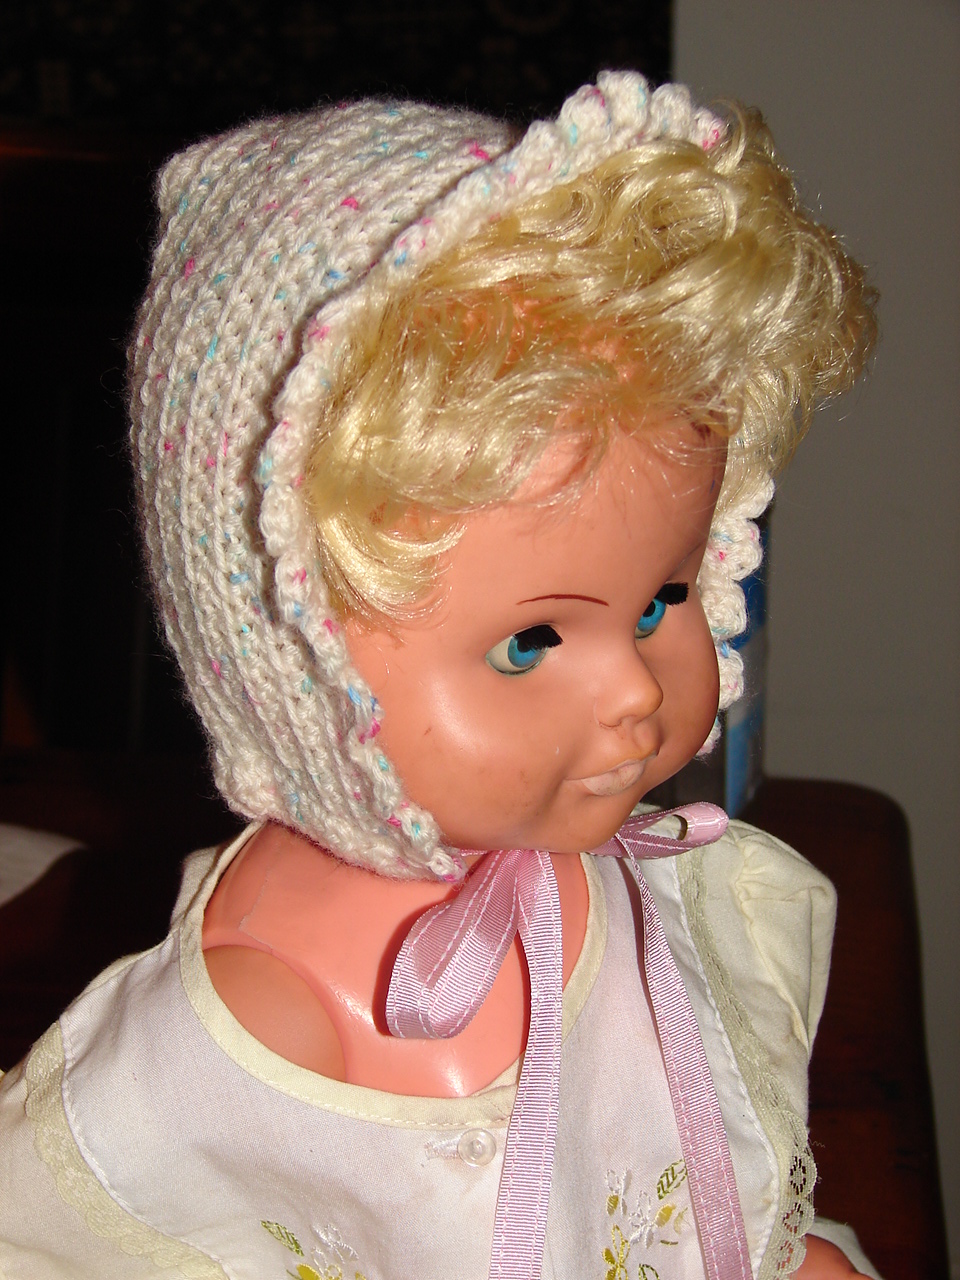
I also finished a new hand sanitiser and dummy pouch set that I will be selling on Made It:

DSC07084


I finally got through all the blog posts that I have been following. I had 1000+ and must admit I had to mark a few as read as it was going to take forever. 

But I still managed to checkout all the lovely things you have been making:

baby boots baby shoes birdie

change mat cover-2

dr suess          february2012 050 

POlka dot red 019 6914975103_6d3c70e71c IMG_3483

  1. Love the fabric Kassie from Mommy to a little lady{bug} has used to make these cute toddler boots
  2. I wish I was using my sewing machine more when the girl’s were little.  I just love the little crochet flower added to these adorable shoes by Somewhere in the Middle
  3. I so have to make one of these little guys.  Loving this little birdy by PaperTurtle. The pattern is free from Lion Brand
  4. Little Stitches for Little Ones by Amy Butler is a must have on my book list.  It has inspired Zween, a blog about making and sharing to use these gorgeous vintage fabric to make a changing pad.
  5. Found this great tutorial over at The Mother Huddle. This would be a great project for a young girl to make. 
  6. Who Doesn’t love Dr Seuss.  I remember my Dad taking me to the library when I was little and borrowing out Dr Seuss books.  I have bought the whole collection for my girls.  Will have make these great hats by Kitchen Fun with my 3 sons.
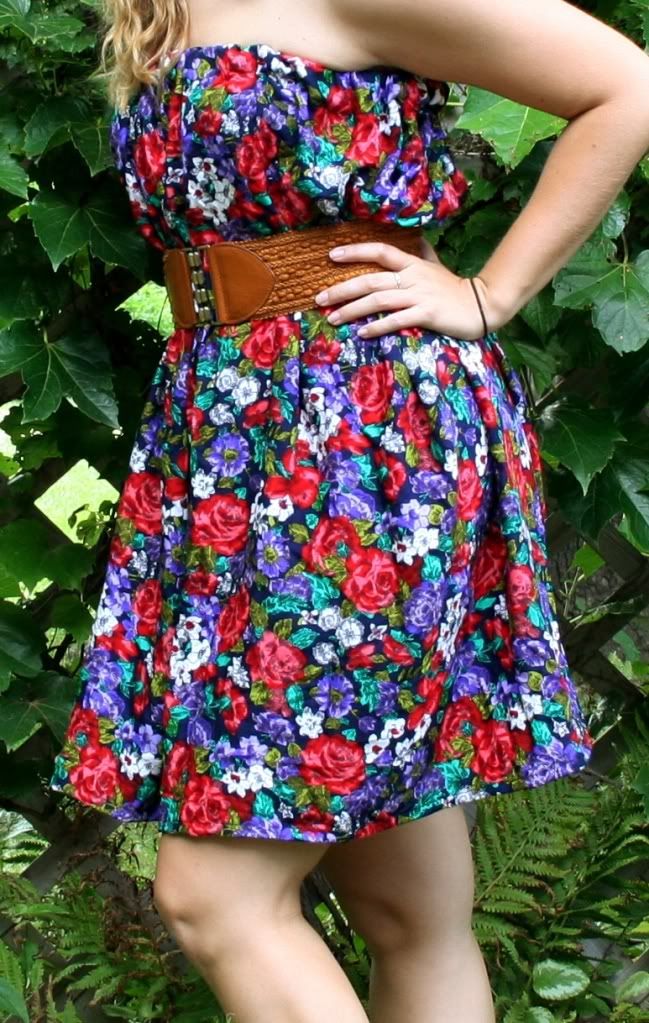
  7. What a great way to brighten up a plain dress. Tutorial is found over at Show, Tell, Share…
  8. OMG how cute are these.  I had a similar pattern I came up with for a pair of sandals my niece use to where that looked like these.  Just loving Crochet Dreamz work.
  9. I bought some lovely pre cut squares from Little Starfish Fabrics that I hoping to make into my very first quilt. Love the gorgeous fabric JAQS studio has used in this one.
  10. And last but not least, I have seen a few things that Scrabble squares have been made out of but never coasters.  What a great idea.  You can find the tutorial over at Pops and Podge.

Well I have a few things that I should be doing and the Little Man is wanting mummy’s undivided attention so must dash.

Have a great week and I look forward to seeing what you have all been up to next week.

Have a lovely day!

baby, blanket, crochet, dress, hair clip, handmade, lanyard, Linky up party, owl, quilt, recipe, recycle, refashion, ribbon, sewing, shirt, Skirt, tutorial

Link Party Like #13


Well what a week, my baby girl turned 4 yesterday (how did that happen lol and where did the years go) and we had Father’s day on Sunday.  Have so much that I want to do but seem to be getting no where.

Finally finished the last 2 dresses for ‘Dress a girl around the world’ thank goodness and am now working on making some IV Shirts to give to a lady to donate to a hospital for bubs.

DSC05291

So after a much needed cuppa I had a look at what you all have been up to in the last week:

This felt owl is just adorable, you can find the tutorial over at The Orchard in Bloom:


Sara vs Sarah have put a personal touch to these lovely pillowcases they have made with a crochet edge:


One of my favourite blogs Sumo Sweet Stuff has made this lovely lanyard.  I must make one of these for my girls to attach to there library card:


Sandy Sewz has made this lovely blanket as a gift, which reminds me I have a baby shower to attend on Sunday for one of my closest friends so I better get my thinking cap on:


My girl’s have grown out of there old jeans so this is a great way to repurpose them.  Thanks for sharing Artfully Caroline:


And isn’t this dress gorgeous, it’s over at Kristina J:


Minimoz has come up with this great idea for storing your ribbons:


How great have these skirts turned out using dad’s old work shirts.  You’ll find the tutorial over at lil pink pocket:


Hannah Handmade has come up with a great idea for using up your scrap material with this little clip:


Thank you everyone for sharing your great ideas in last weeks link up parties.  I don’t know about everyone else but I’m dying to get back to the sewing machine now lol.

Happy Sewing!!!

crochet, dress, handmade, Linky up party, owl, pillowcase dress, recycle, refashion, sewing, tutorials, tutu, up cycle

Linkup Party Likes #12

Well I have been busy last week trying to get some sewing done in between feeds and running around after the girls.
So far I have managed to make 4 dresses for the Dress a girl around the World drive with The Sewing Library:

DSC05186
And then there is this little guy! I have designed my own pattern to sell this cute softie on my Bits & Bobs page:

DSC05225

Plus I am planning on opening a Made It store mid September.  The list is endless!! So what have you been up to lately, well lets have a look at what caught my eye:

Isn’t this the cutest tutu.  I found it over at Our Seven Dwarfs:

Just love the colours in this bright silk dress I found at Janlynn-Sewmore:

Another use for Dad’s old shirts over at Sha Designs:

Nothing but County are getting ready for Halloween, head on over and find out how to make this skirt with an easy sew no pattern skirt tutorial:

Stubbornly Crafty has made this adorable owl for her niece:

And I just love the material that Cookie has used in this Apron Style Halter Top over at Cookie and Claire:

Well I’m off to do some more sewing/crocheting, what have you got planned this week?
Have a great day!!!!

amy butler, baby, bias tape, bibs, burb clothes, crochet, dress, Linky up party, owl, recycle, shirt, simplicity, tutorial, up cycle, wrap

Link Party Likes #11


Last week I finally managed to get in front of the sewing machine.  It was so great to finally make something again.  I had a lovely lady ask for a bib and burp set made these lovely owl prints:

18082011233

18082011234

It was also my birthday on Friday and my wonderful husband bought the Simplicity Bias Tape Machine that I have been wanting for ages:

19082011235[1]

So I had to go to my local spotlight and stock up on all of this:

20082011243[1]

I also had the pleasure of testing a pattern for Sumo Sweet Stuff.  Just loved making these dresses for my girl’s.  Very easy to follow instructions so keep an eye out for this one:

DSC05124DSC05126

I’m also part of a charity drive for Dress a Girl Around the World so will post some pictures of the dresses when they are finished.  It’s a great cause and if you love sewing why not take part.

But for now here are a few things I found and loved on the Link Up Party’s last week:

Sew much ado has shared this maxi dress tutorial.  Going to give this one a go as I would like to make a few dresses for myself this summer:

Katie J. Gibson show’s how to make a nursing blanket:

Etcetorize made her own version of a victoria secret dress:

Simple Sewing project, DIY Summer Dress, Victoria's Secret Dress, Tube Dress, Summer Dress, DIY Dress

Everyday Art, again love what Emily comes up with:


Got to love the owl craze that is going on at the moment. Here is another take on the owl craze by Off My Hook:

Love this 3 Stitch Summer Dress over at A Law Students Journey:


And last but not lest, why not refashion your old t-shirts into something new just like over at Just Down the Hall has:

I’m off to sit in front of my sewing machine.  Happy Sewing!!!!!!

books, crochet, library

I found it at the Library

I am hoping to make this a regular post as I borrow books out of my local library all the time and the great thing is I request books online so I don’t have to drag the whole tribe to the library and spend most of the time telling them to be quiet and stop running around.

Have you been to your local library?, are you a member?.  Well if you’re not then you should be.  Is there a new sewing book out at the moment that you would love to buy but money is tight and the $40 price tag is just to much, well why not check and see if your library has it.  And if they don’t have it some libraries will actually look at getting the book in.

I also like the fact that you can try before you buy.  There have been a few books that I have borrowed out and ended up buying it and others I have found there are only one or two things I like but the rest of the book is no good to me.

The only downside to borrowing some of the books from the library is that you can’t use the patterns that may come with the book but that’s where tracing paper comes in handy.

Anyway seeing as I have been doing alot of crocheting lately I thought I would share a book that I actually have on my “would like to buy list”.

It’s called ‘The Ultimate Crochet Bible’ by Jane Crowfoot.  This book is fantastic and loaded with different stitches and techniques:

I found that this book is well illustrated for those who would like to learn how to crochet or like me who can crochet but would like to know more types of stitches this book is very easy to follow.
 

Here are a few of the different sections you will find:

I’m planning on making this bolster cushion for someone special

This type of crochet uses a very long hook almost like a knitting needle.
 I have already been out and bought one from Spotlight

So why not head out this week and checkout your local library or check and see if you can browse online.
Happy reading!!!!!
beanie, blanket, booties, crochet, flannel, sewing, spotlight, tutorial

Tag Blanket (baby shower gift)

I recently made a tag blanket for a dear friend who is expecting a little boy in eight weeks.

I had fun making this blanket as I just love all the bright colours that I have chosen. Spotlight have a great range of flannel at the moment and I has been a while since I have been fabric shopping due to this little man:

Ahh I could sit and watch this little face all day.  Anyway back to the blanket, so here is what I came up with:

Supplies:
1 metre Blue and White Star Flannel
1 metre Rainbow stripped Flannel
1 metre of each colour of ribbon (orange, pink, red, yellow, green, purple and blue)
So first I cut the ribbon into 3 inch (orange, pink, red, yellow and blue) and 4 inch strips (green and purple).
Then I measured, marked and cut both pieces of flannel into a 34 x 34 inch square:
OK, next I pinned the ribbon on to the right side of one piece of flannel and then sewed them on as I thought this would make it easier to sew the whole thing together and not have to worry about the ribbon moving.  I ended up with 14 pieces of ribbon spaced out about every 2 – 2 1/2 inches apart:
 Now to pin and sew both piece’s of flannel, right sides together, making sure to leave a gap to turn the blanket out the right way:

Once I had turned the blanket out the right way, I pinned and sewed around the edge of the blanket (i sewed about 3/8 of an inch from the edge):
And here is the finished blanket:


I also made a beanie and matching booties as well:
Might have to go back to Spotlight and get some more of this fabric and make one for my little man lol!!.
Happy Sewing
P.S was not happy with the booties, one looked bigger then the other so I am making them again.  They were probably fin but I wasn’t happy with them lol

beanie, blanket, booties, crochet, tutorial

What I’ve been up too

Hello everyone

I’m so sorry I haven’t posted in the last couple of weeks.  I have been starting to slow down with bub number 3 due in only 3 weeks.  Plus my 2 girl’s take up most of my energy too.

I had planned on doing a few post about maternity and still will starting on Friday (I’m hoping), but first I have a few things I need to get done for my other passion at the moment, my little shop Bits & Bobs 4 Bubs.

Here is what I have been up to over the last couple of weeks:

For making it to 100 likers on my facebooks page I had a giveaway where you could win a beanie and making booties for a boy and a girl.  I have been trying to work out my own crochet patterns

I also wanted to make something for bub and as I don’t know what we are having I decided I would crochet a blanket

Also I have been working on a crochet pattern for my hand sanitiser holders

Now for what I will be doing over the next couple of weeks or until but gets here.  I thought I would share a few tutorials on things that will come in handy will mum’s are expecting and also sharing some great tutorials that other clever mum’s to be have come up with.
So what do I have in store for my first tutorial, well I had a lovely lady ask me if I make pillowcase covers for Bobby Pillow’s.  Well I had no idea what a Bobby Pillow was and after looking into it and making the pillowcase for this customer I thought well I would love one for bub. 
customers pillowcase
So please stay tuned and have a great week!!!!
baby, baby shoe, crochet, Linky up party, refashion, tutorials, up cycle

Linkup Party Likes #5

Hello everyone!

I hope all the mummy’s and mummy’s to be had a fabulous Mother’s Day!! I know I did, I was very spoilt.  I had lots of fun checking out what everyone has been up to as well:

Adeela from Sew Kool shared her tutorial on how to make this adorable bird plushie:

photo from Sew Kool

Checkout the rest of Adeela’s blog there are lots of other cute plushies to choose from and make!

And I just loved Percy the Purple Hippo that TinkerAnnieBelle has made:

Refashion, yes please!  I love what Emily at Em-agination has done with this $1.80 black shirt:

Have you finished with your nappy wipes case, well don’t throw it away!  She Wears Flowers has this great tutorial on how to turn it into a laptop for th kid’s.   I know my girl’s would love this, they often pretend with something else that they are mummy on the computer!!!!!

So what have I been up to, well I have finally finished some crochet items that I have been working on as well as making a few custom orders:

And I have redesigned my nappy wallet’s so that they can carry MCN’s:

But as I have only 6 weeks to go before bub number 3 is due and I have a few ideas that I want to share along with some fabulous tutorials that I have come across on other blogs I will be doing a Maternity feature.  So stay tuned!!!

Have a great week!!!!

baby, bonnet, crochet, pattern

My first Crochet Pattern

My girl’s have been playing doll dress ups with a babies bonnet that was given to me in a bag of hand me downs and as I have been doing a lot of crocheting lately I thought I could come up with my own crochet pattern for this bonnet.

Here is the bonnet:


forgive my model she is 30 years old

And here is the one that I created:

The wool that I used was 2 x 50 gram 4 ply and is the colour cream with flecks of pink and blue through it ( I was actually given this wool from a dear friend who no longer crochet/knits so I am not sure where you can buy it).  The hook that I used was a 3.50mm/E4. For the tie, 38 inch piece of cord/ribbon/lace, whatever you would like.
Pattern:
(Now as this is my first pattern please be patient with me and if there is anything that doesn’t make since or any questions you may have please do not hesitate to ask and I will try my best to provide an answer and correct any errors)
With E4/3.50mm hook make 62 chain (main part should measure 11 1/2 inches long and 4 1/2 inches wide when finished).
Row 1: 1 double crochet into third chain from hook and continue to end. 2 chain then turn (count chain as first double crochet)
Row 2: work *double crochet in each chain till end, 2 chain then turn**(work this pattern *to** till piece is 4 1/2 inches wide)


this is what your piece should look like when finished
(except for the frill that’s next, sorry forgot to take picture)


Frilled Edge:
Continuing from last row: 2 chain then turn (count as first stitch) in same stitch at the bottom of the 2 chain, 1 double crochet, 1 treble crochet, 1 double crochet, 1 single crochet (pattern should have 5 stitches in 1 chain). Then in next chain slip stitch. Next stitch work *1 single crochet, 1 double crochet, 1 treble crochet, 1 double crochet, 1 single crochet.  Next stitch, slip stitch**.  Work * to ** till end and fasten off (I ended up with 27 patterns for the frill).
Hope you are keeping up with this so far!


Now to sew the bonnet together to create the back before we do the bottom part for the tie.

Fold your piece in half like so:

Now place a pin at 4 inches as we are going to create a T shape as per the original:
back of bonnet


After you have sewn up to where you have pinned, fasten off.  Then push the top part down to create the T shape and sew:

Your bonnet should look like this with out the bottom part for the cord:

Bottom of the bonnet:

As the bottom of the bonnet is the finished edge you will need to create a row of single crochet all the way along.  When you get to the end work 2 chain and turn.

Then in the top of each chain work a double crochet to the end, 2 chain then turn.  Continue on with this pattern for another 4 rows (should be first row single crochet, 4 rows double crochet).

Now I did not have any cord for the tie so I used a pretty pale pink ribbon.  You can sew the bottom of the bonnet first and then push the cord through later using a safety pin but I chose to sew the ribbon in.  Fold the bottom of the bonnet and sew to the single crochet row like so:

And there you have it, your very own baby bonnet!!


Poor old Josephine, I have had her since I was about 3.


I think this bonnet would be for a newborn to 3 months.  Of course if you wish this to fit a bub that is 3 to 6 months I would just make the width of the bonnet wider by just adding a few more rows.
I hope you can understand the pattern and I would love to hear any feedback and please I would love for you to send me a picture of your finished bonnet.
Happy Crocheting!!!!!!