A little while ago I had one of my lovely friends from my previous workplace ask if I can make korker bows. Well I had no idea what a korker bow was and after asking Google I found it was something that I had seen many a time and is very popular but didn’t know that was what it was called.
Anyway after making them for her daughter I thought it would be a great idea to make them for my girls to wear in their team house colours for sports day. And of course wanted to share with you how it’s done too.
You will need:
- wooden pegs (they need to be wooden as you will be baking these in the oven, yep your oven)
- some lengths of dowel (I bought a length of 1800 mm and hubby cut it down to approx 12 inch lengths)
- grosgrain ribbon (this seems to work the best)
- hair ties
- needle and thread
- starch spray (optional)

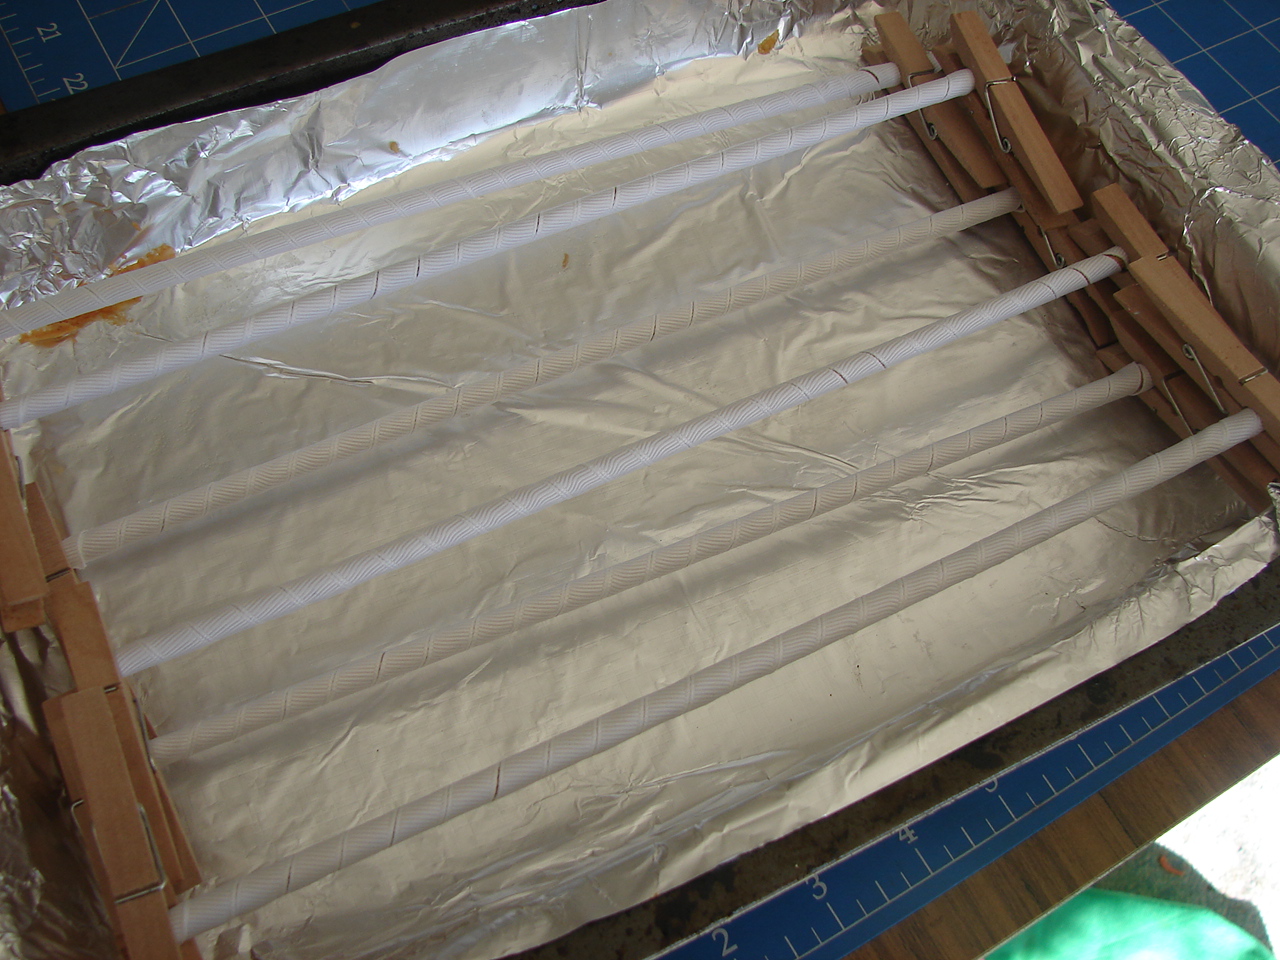
To set the ribbon you will need to preheat your oven at 160, then while this is happening get your ribbon and attached it to the top of a piece of dowel with a wooden peg. Twist the ribbon around the dowel as tight as you can all the way down to the bottom, cut and fasten with another peg. It’s as easy as that.


Repeat this as many times as you like and then place the dowel on a baking tray and put in the oven for 30 mins. Take out the oven and leave to cool down before cutting into even lengths. Once cooled you can, and this is optional, spray your ribbon with starch for extra hold of the curl. As I am only making 2 korker bows I made 6 of each colour and cut them in half so that I had 12 even lengths of each. But you can make these as short or as long as you wish.


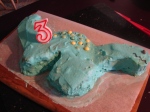
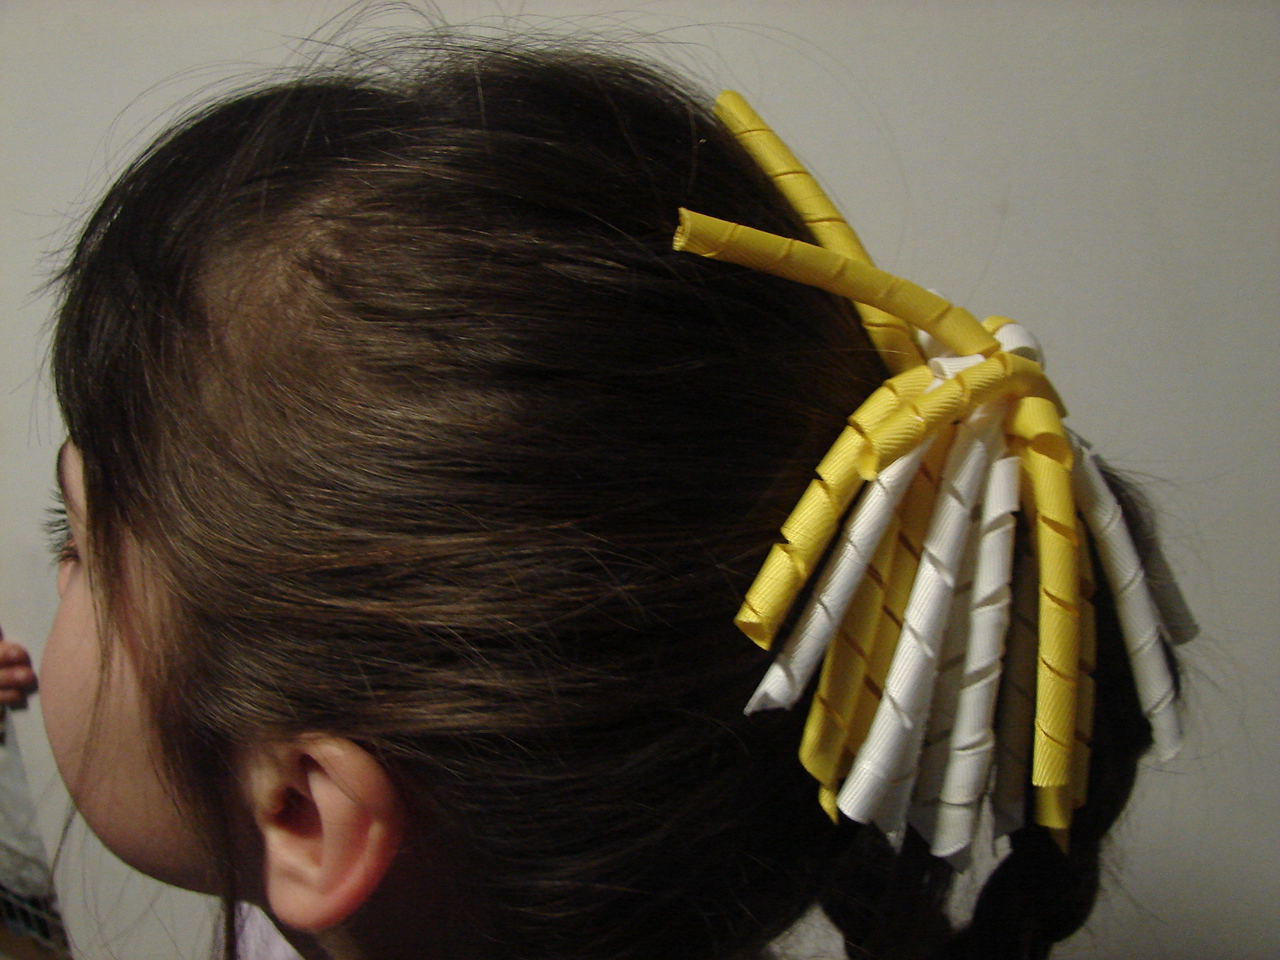
With your needle and thread, thread your ribbon in alternate colours through the middle of each one. When you have the amount of ribbon you want for the bow threaded on, pull the ribbon together really tight and wrap the thread around a couple of times and then push the needle back through again to hold them all together.


All that is left now is to attach the ribbons to your hair tie and to do this you need to wrap your thread around the hair tie as tight as you can then tie a knot in the thread. Because the hair tie was so thick I actually placed the needle through the tie before wrapping the thread around it and then back through and then tied a knot.


All done and ready to wear. You can also attach your ribbon to a hair clip as well with glue and also embellish. Have fun!!
Jennifer xx